- Help center home
- Getting started
- Content model
- Managing content
- Working with entries
- Working with media
- Working with translations
- Managing users
- Roles
- Account settings
- Administration
- Content orchestration
- Compose
- Launch
- Workflows
- How to get help and support
- Guides
- Contentful certification
- Contentful glossary
- Manage cookie consent
- Apps
- Usage Limit
- Marketplace
Create a template
On this page
How to create a template
To create a template:
Open the Content model templates app.
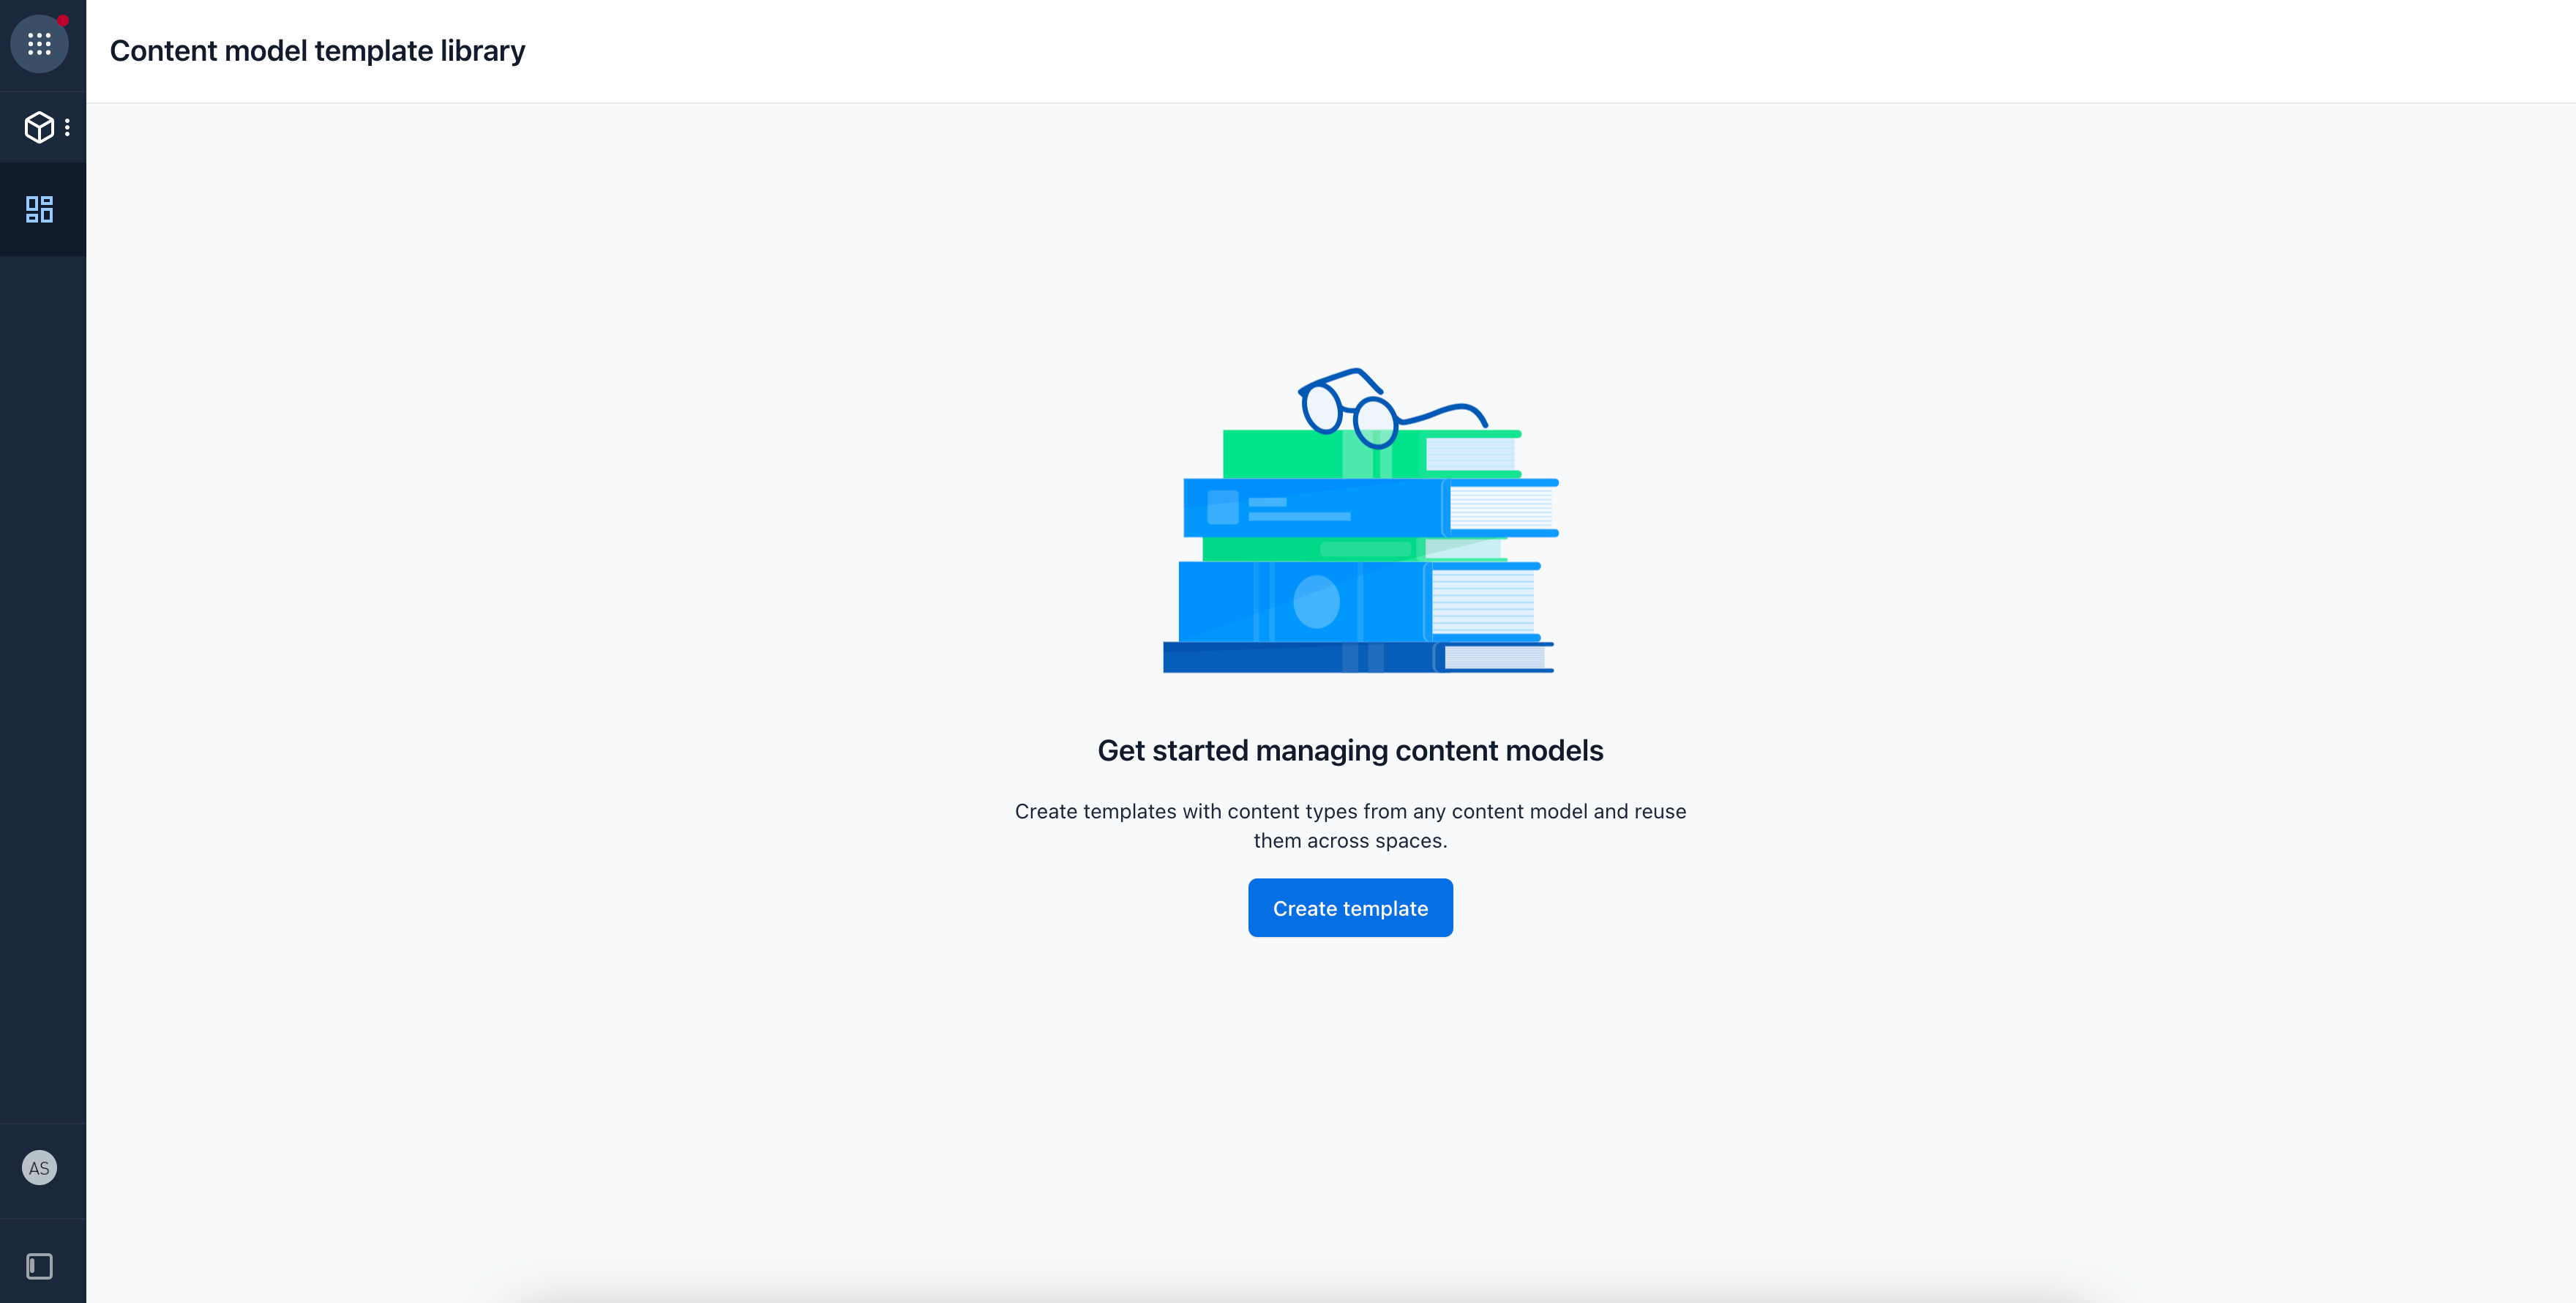
Select Create template. The "Create template" modal is displayed.
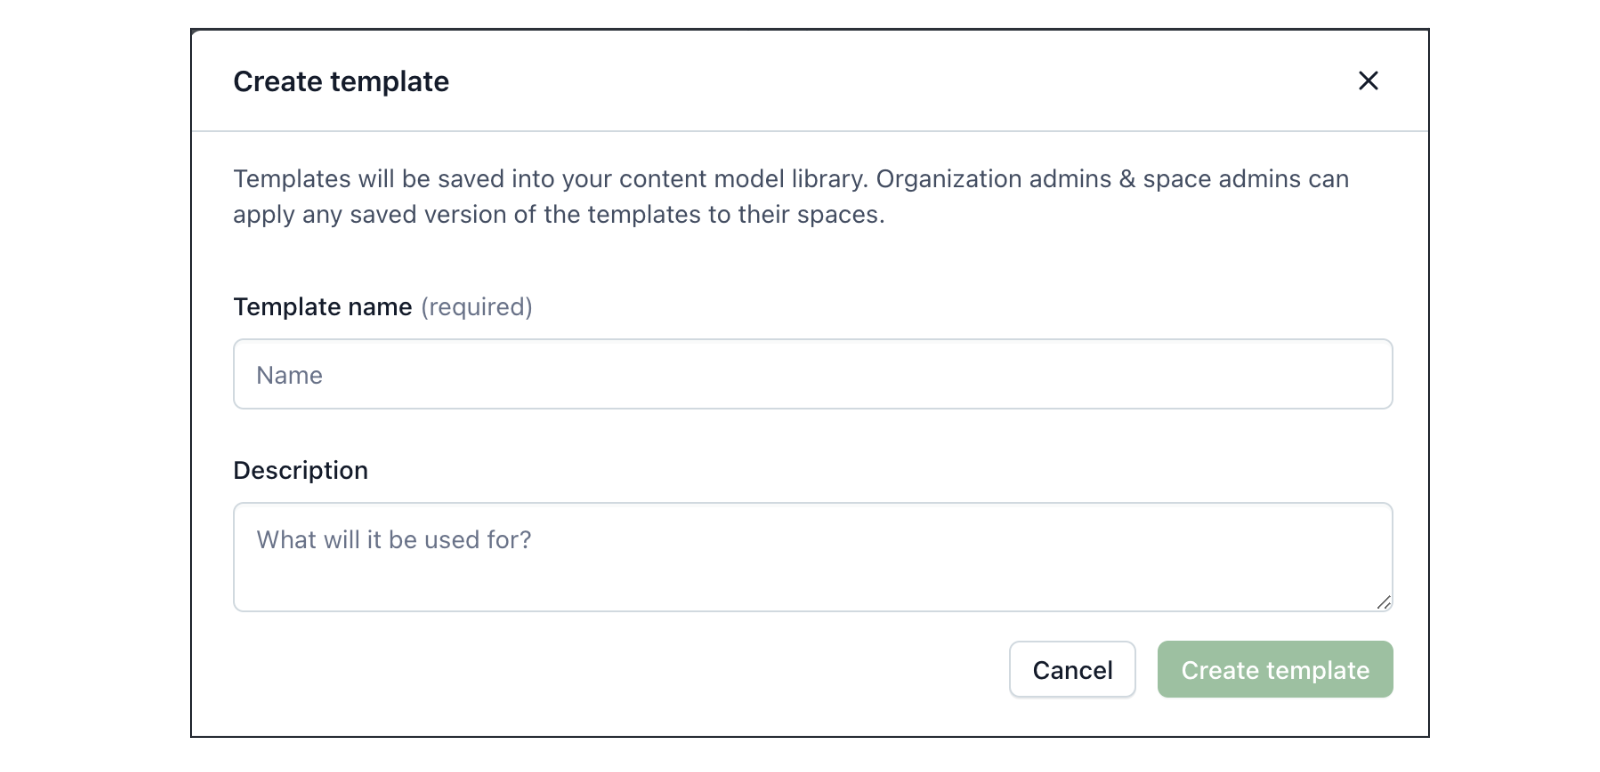
NOTE: If the Create template option is not displayed, you might not have the correct permissions.
Give the template a descriptive name to help others locate it easily later.
Optional: Add a description based on its purpose.
Click Create Template. The "Editor" tab of the template is displayed.
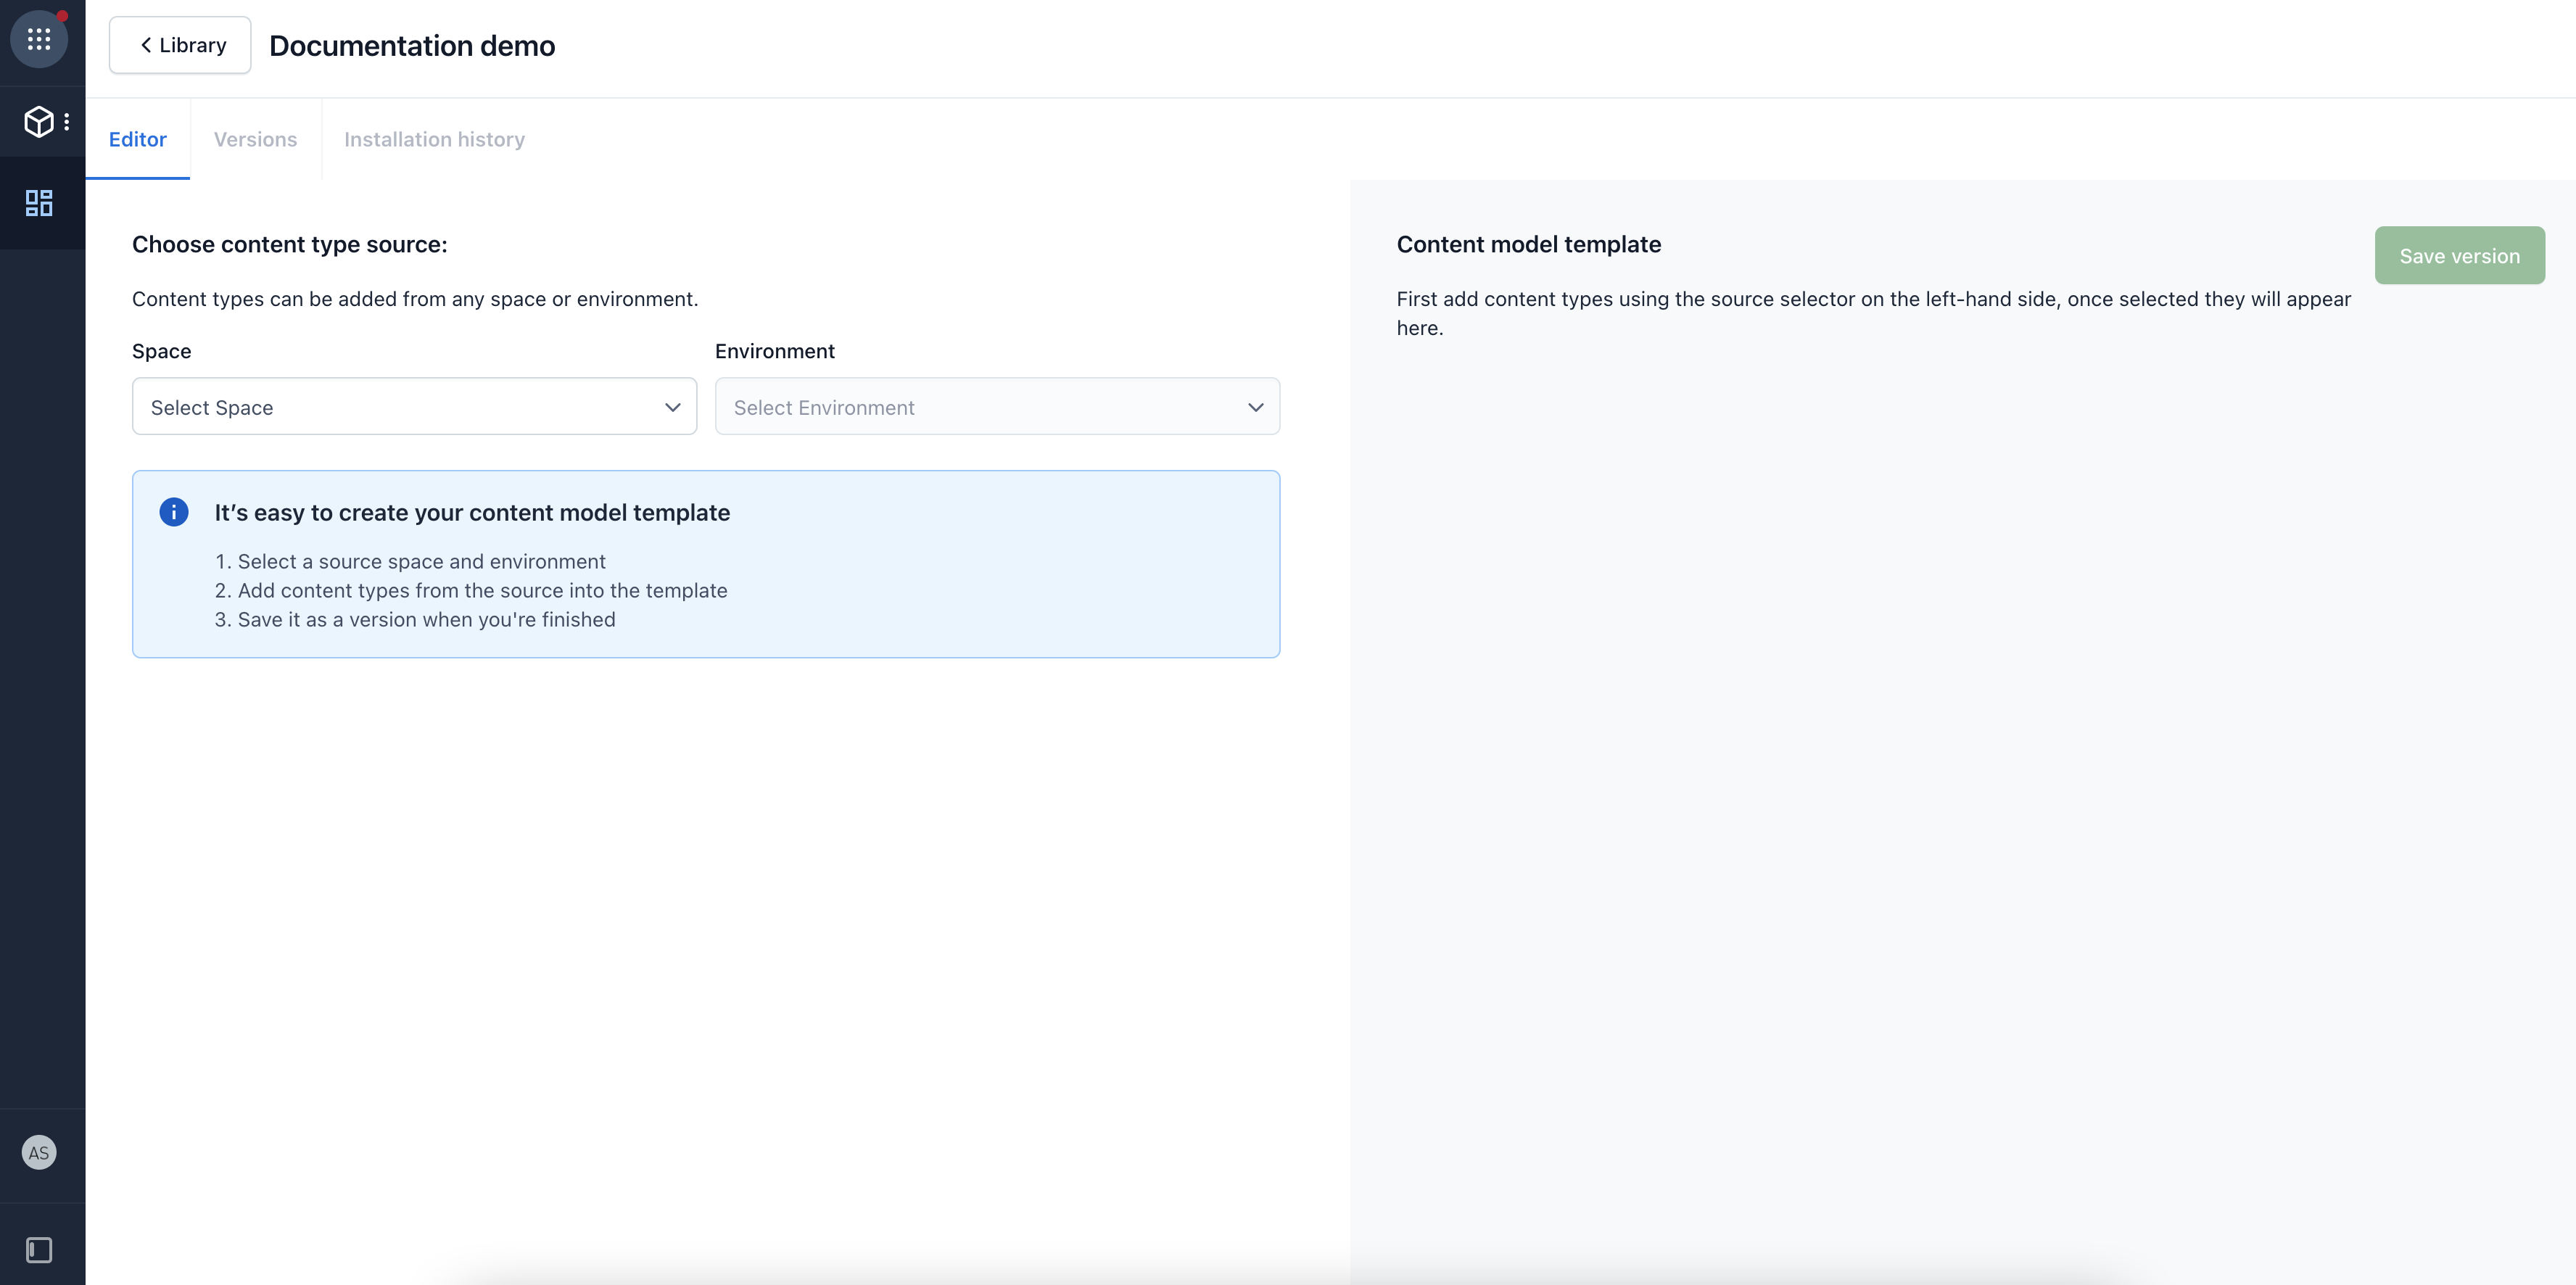
Under the Choose content type source section, select the Space and Environment from where you want to add content types to your template.

After selecting the space and environment, the content types available in the chosen options are displayed. You can add them all by clicking Add all.
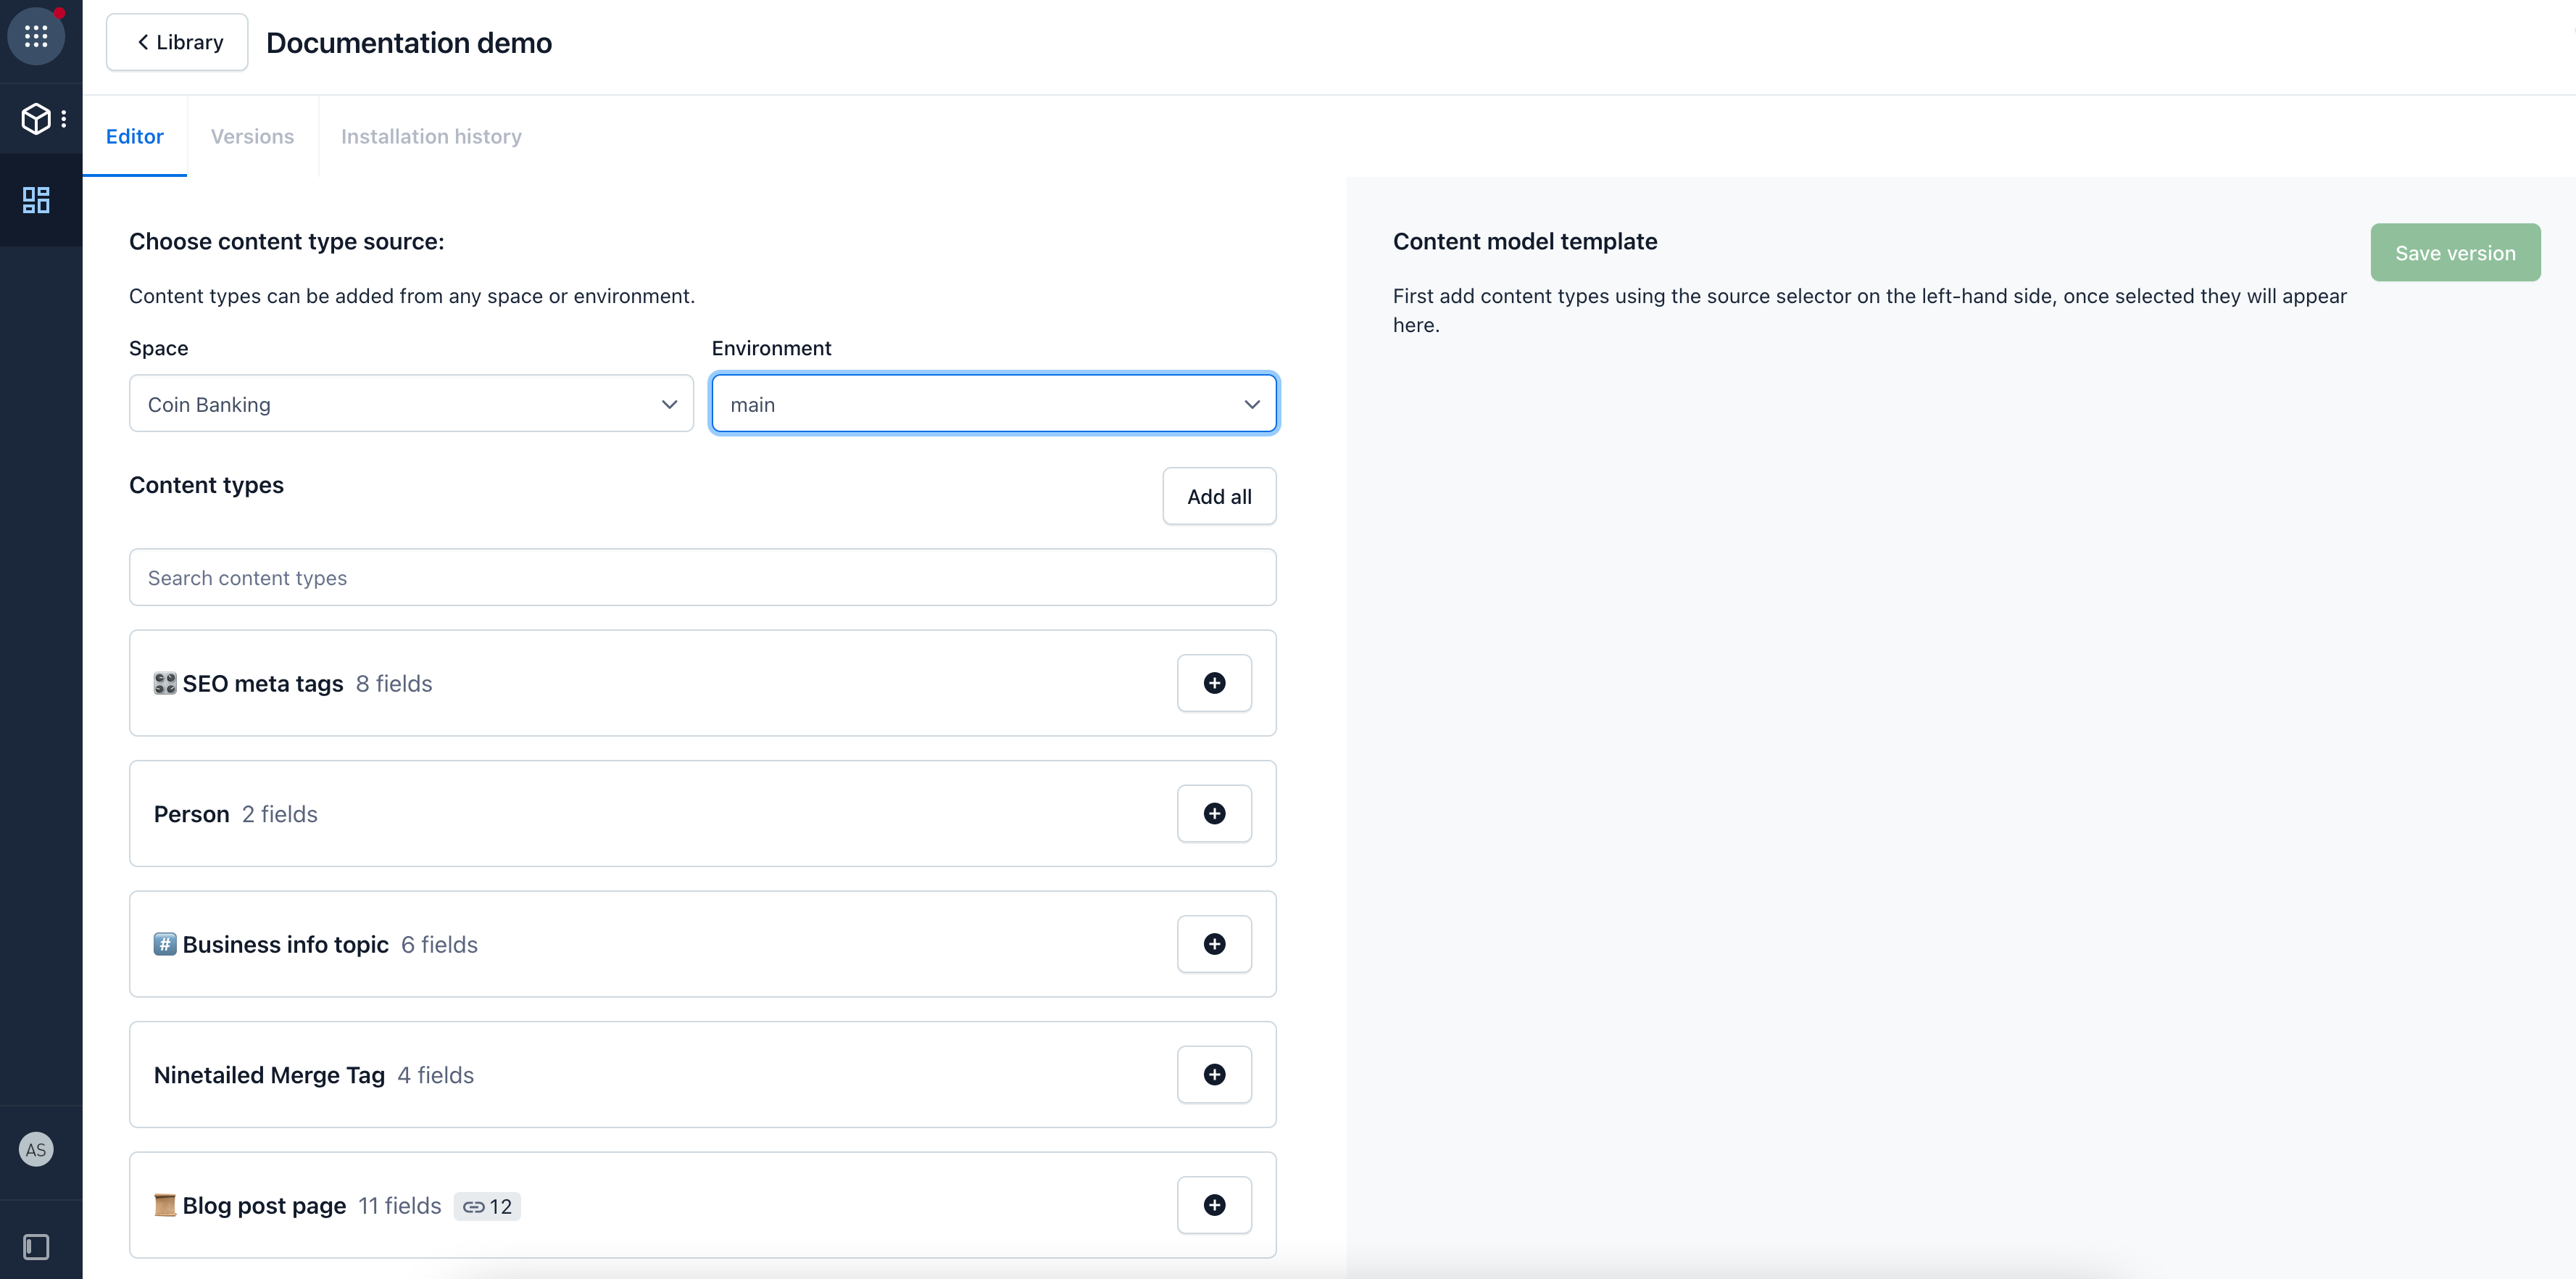
NOTE: You can search for a specific content type using the search bar.
There are three kinds of content types, each with a different behaviour:
Content type with no reference fields. They will move straight into the template.
Content type with a reference field(s) with no validations set. Remember to add all content types that are needed for referencing.
Content type with a reference field(s) with validations, which will open a reference tree modal.

If you selected a content type with a reference field(s) with validations, a reference tree modal is displayed. This modal shows all referenced content types and their references.
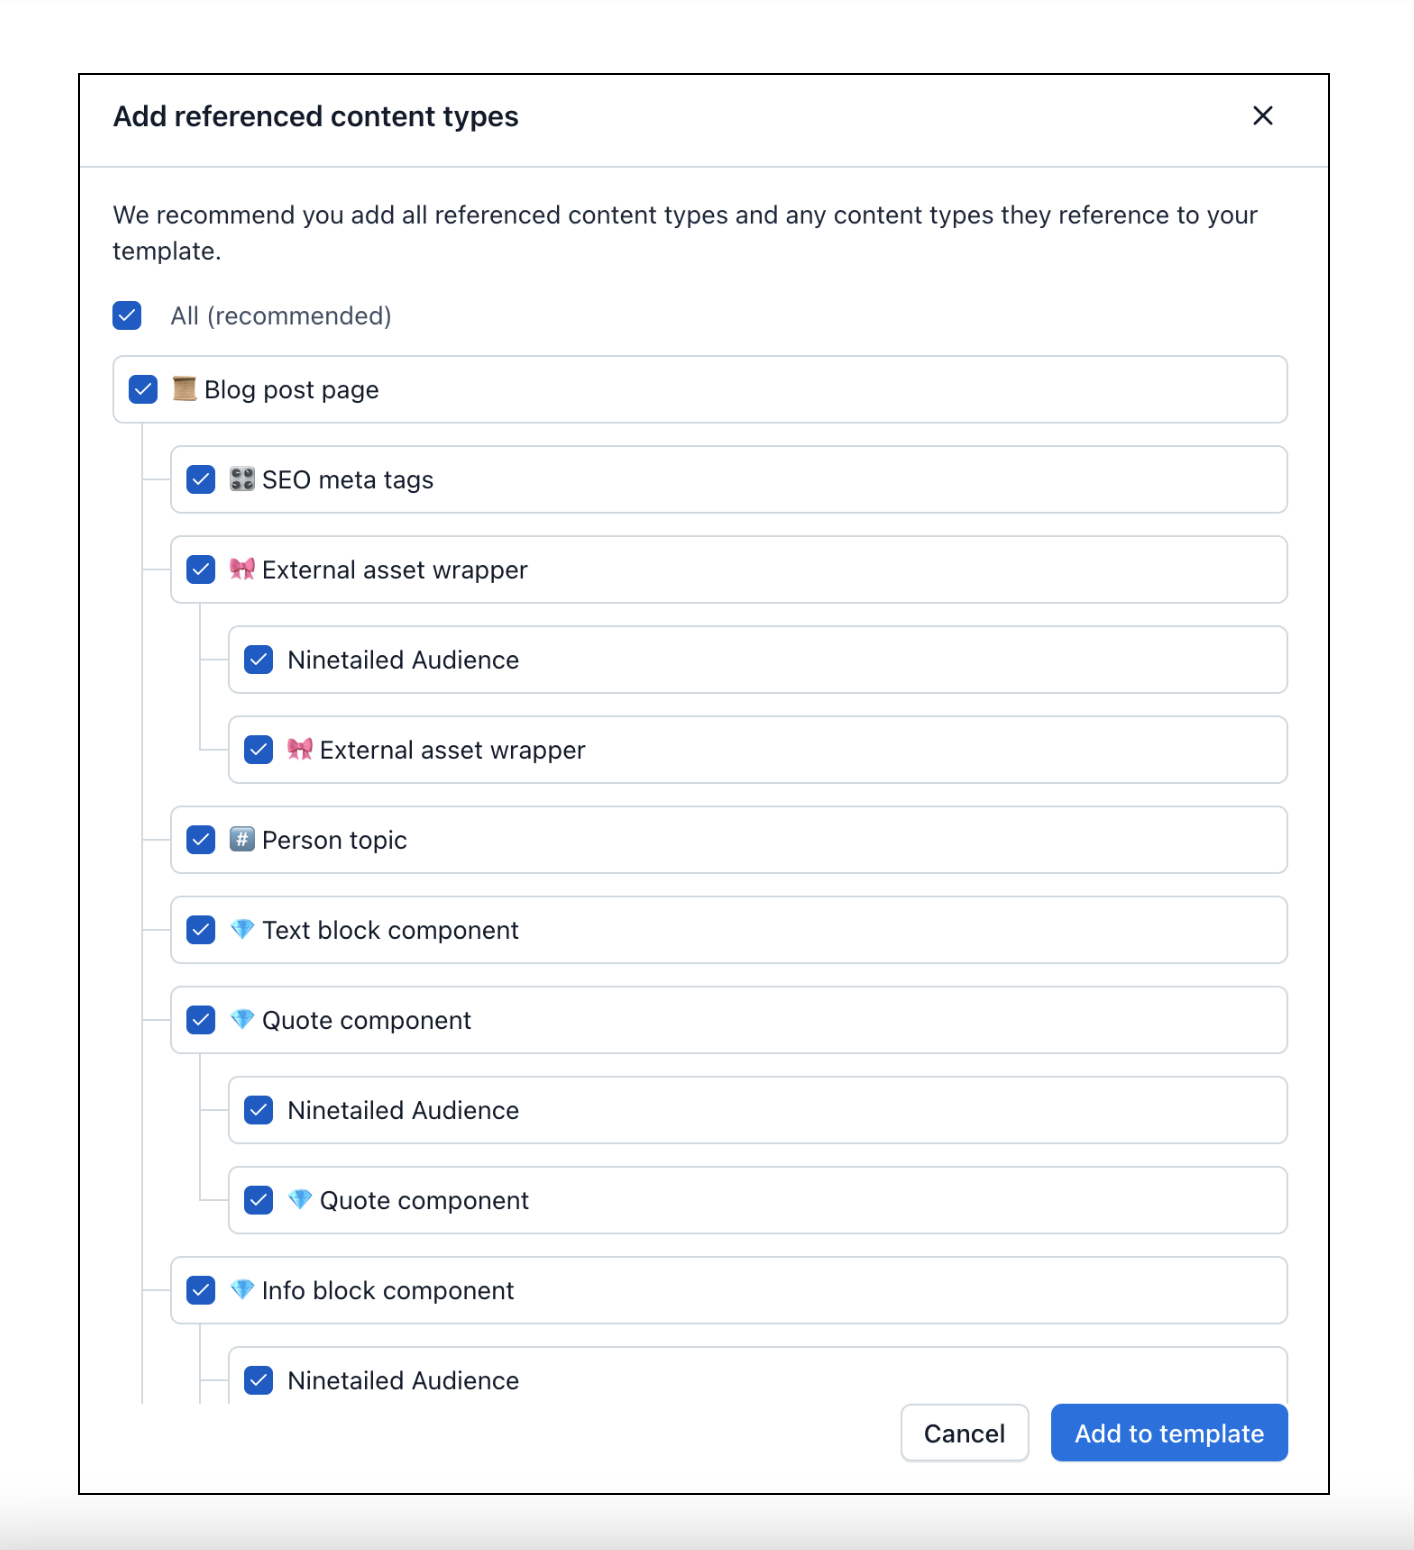
Select the content types you want to also add to the template. The validations are all pre-selected by default, and clicking Add to template will add them all.
When selecting the content types, they are displayed in the Content model template section.
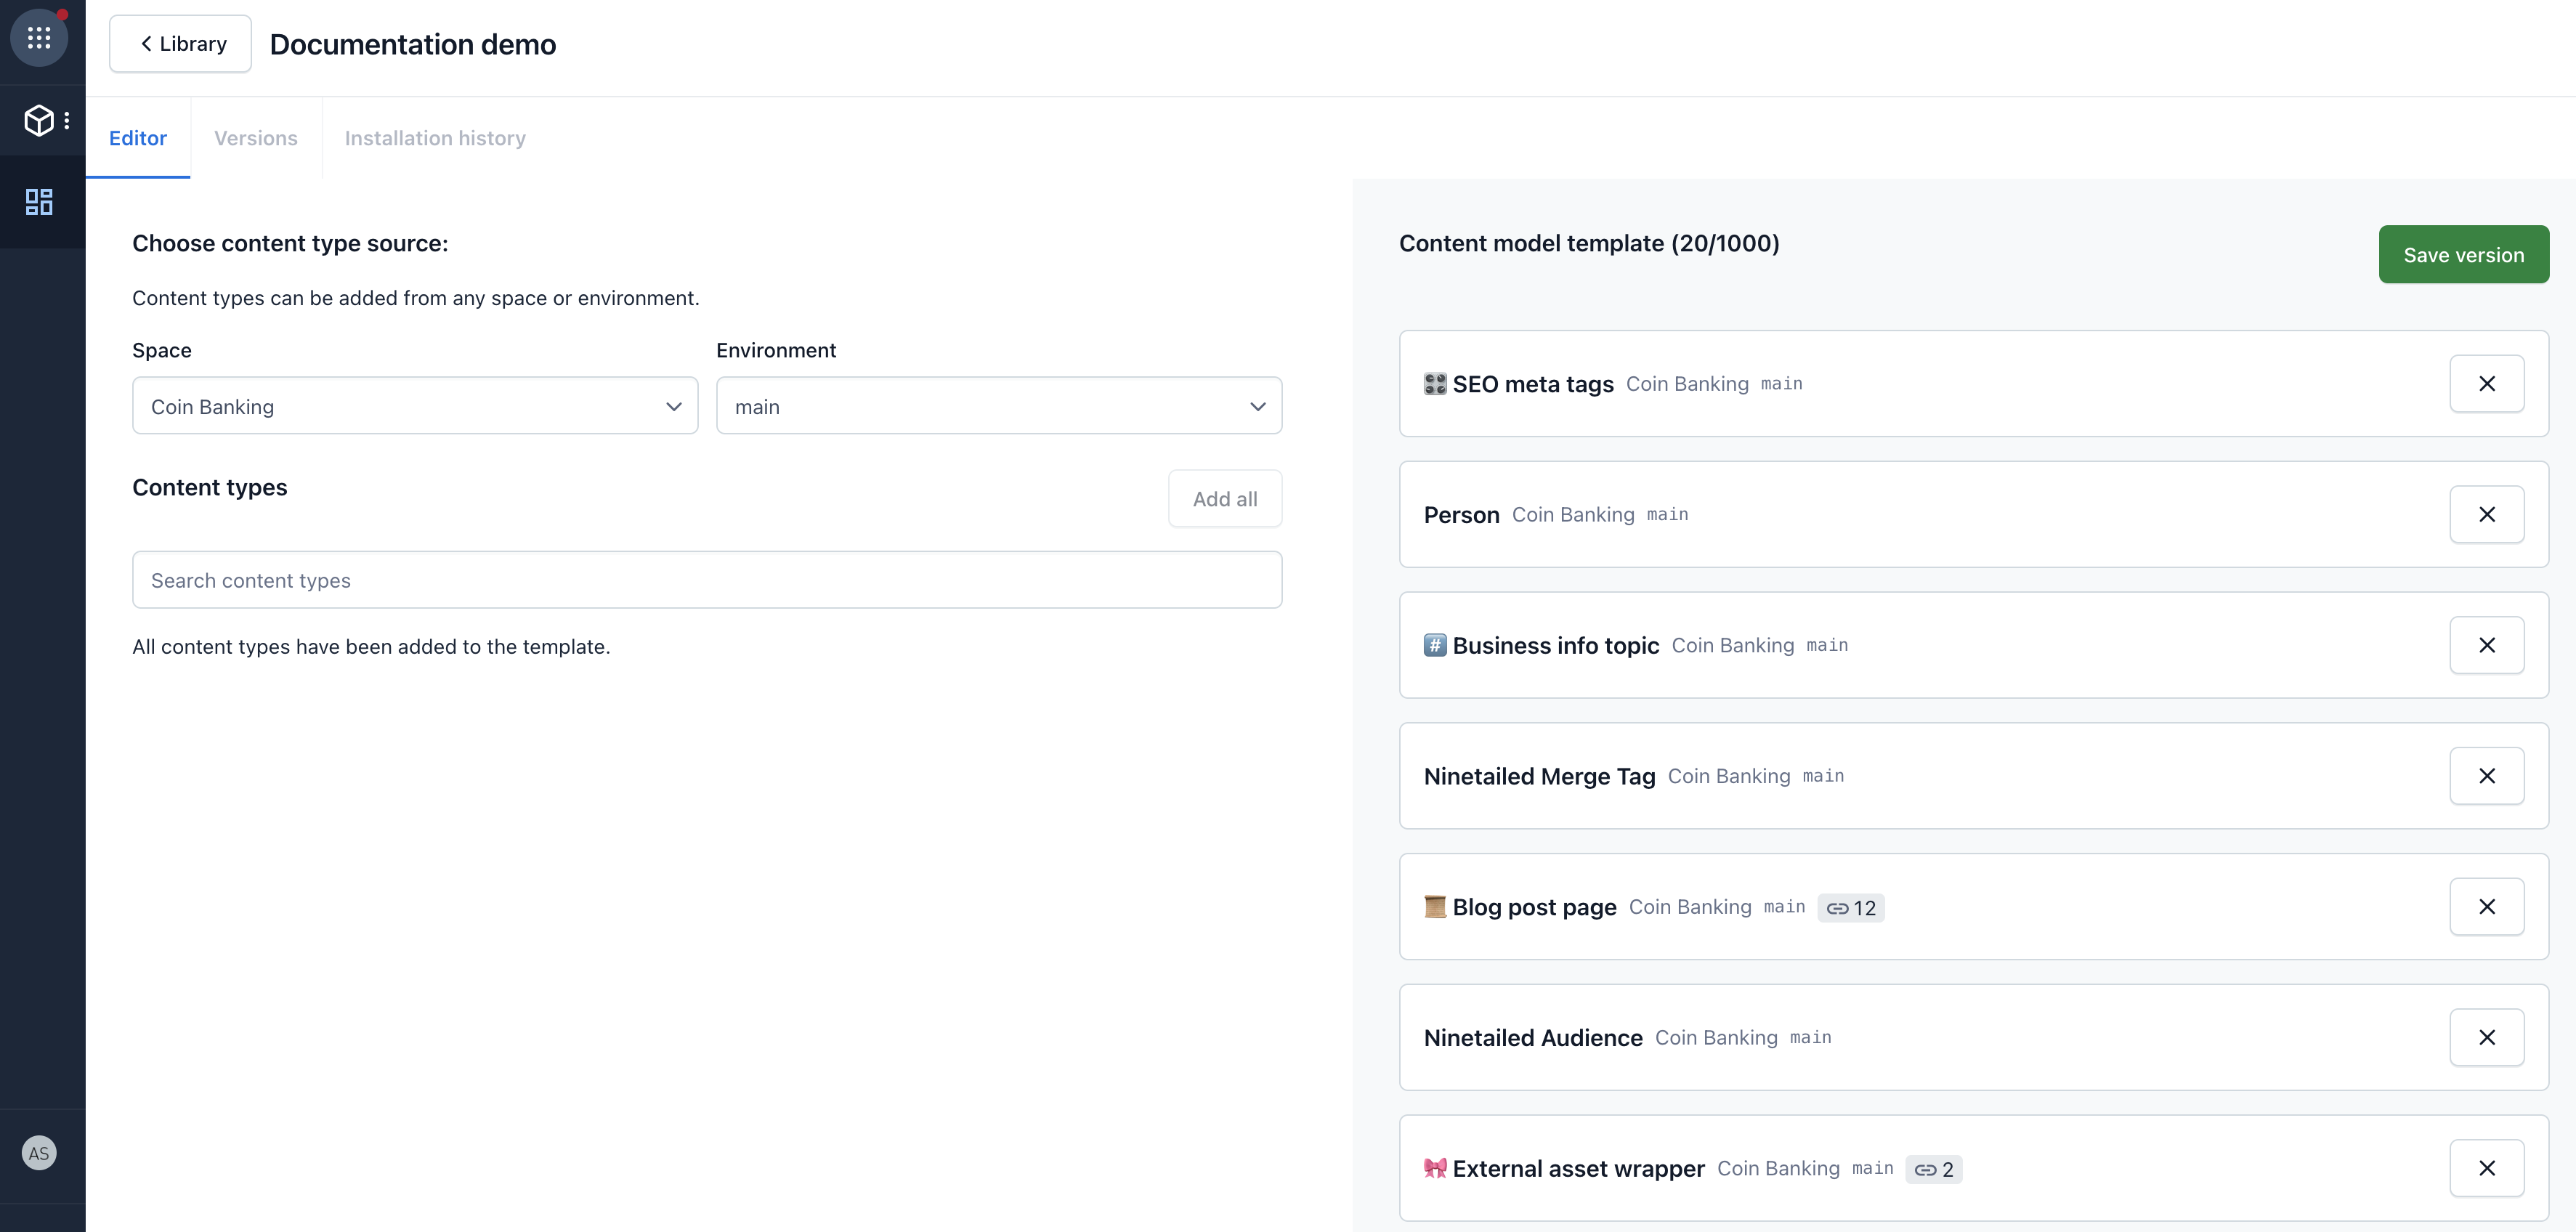
Click Save version. This will create a snapshot of the template.

The "Save uneditable version pane" is displayed. Enter a descriptive name for the template version.
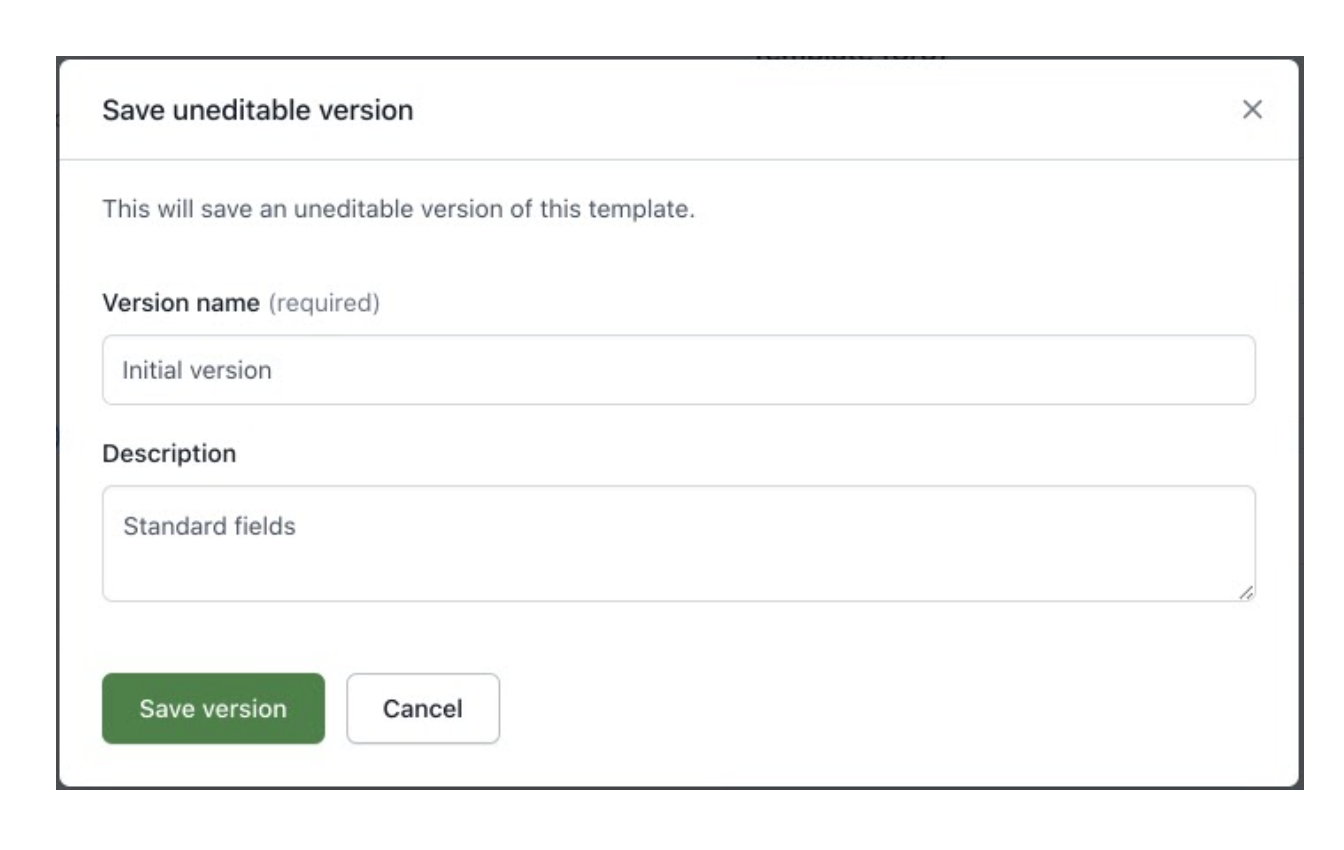
Optional: Add a description. A suggestive description also helps other users in your organization know what exactly this template version contains, or how it might have changed from the previous version.
Select Save version. The "Versions" tab is displayed where you can view a list of template versions.