- Help center home
- Getting started
- Content model
- Managing content
- Working with entries
- Working with media
- Working with translations
- Managing users
- Roles
- Account settings
- Administration
- Content orchestration
- Compose
- Launch
- Workflows
- How to get help and support
- Guides
- Contentful certification
- Contentful glossary
- Manage cookie consent
- Apps
- Usage Limit
- Marketplace
Creating a Workflow
To create a Workflow:
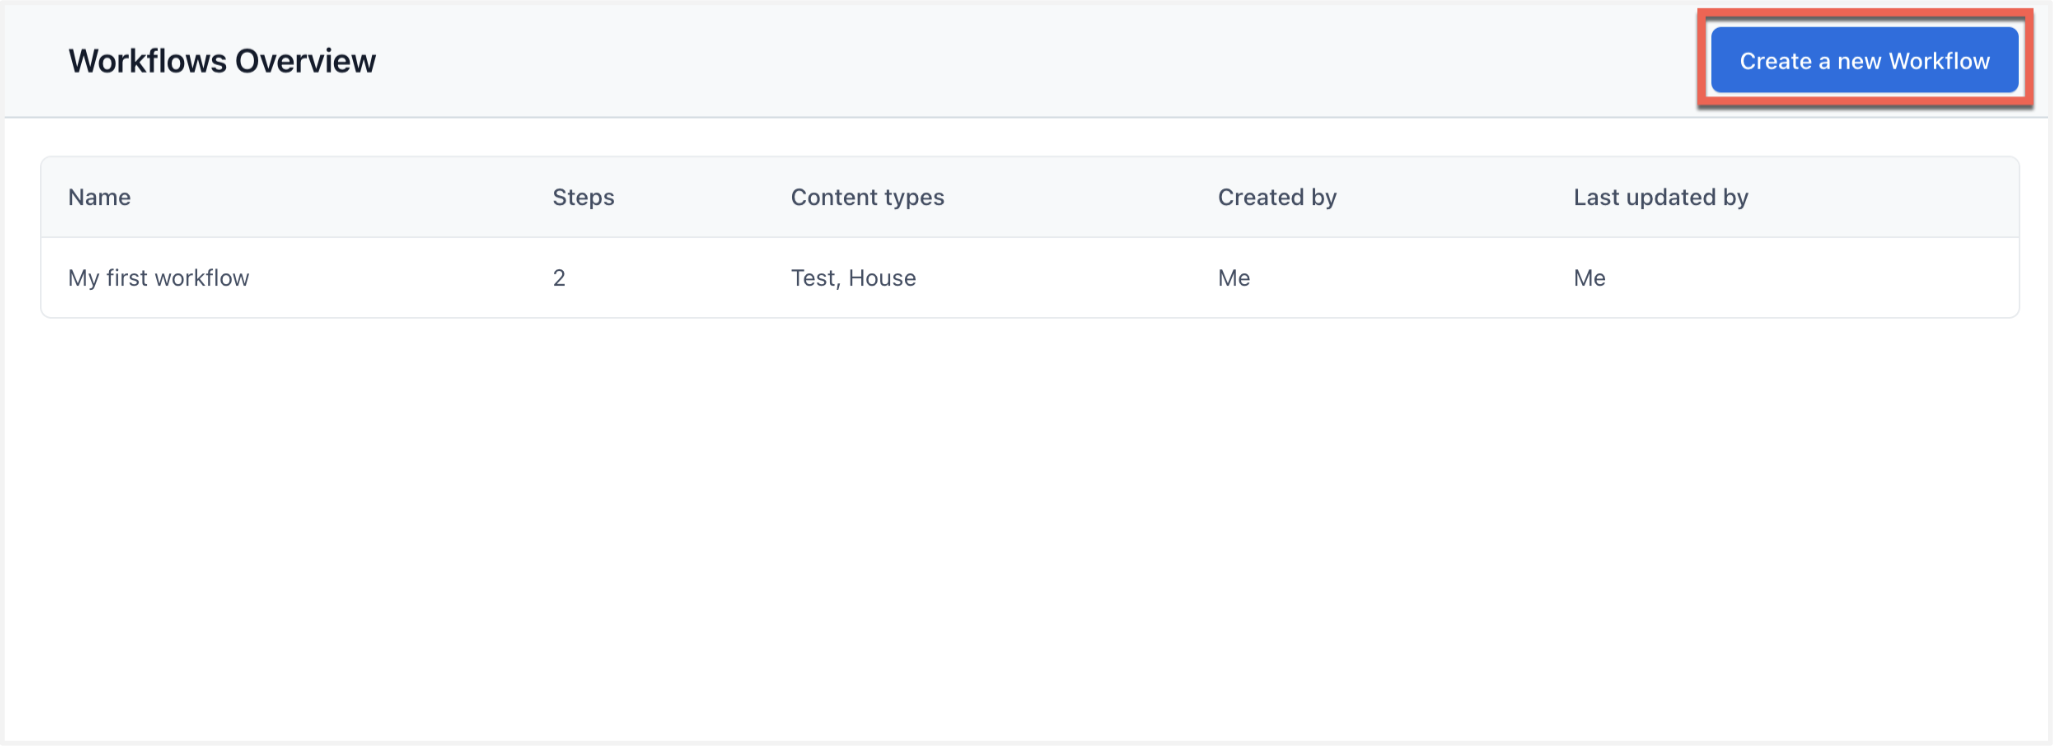
NOTE: Only space owners and admins have permission to create a workflow. If you do not see this option on the upper right-hand corner of the “Workflows Overview” section, please contact your admin to create one for you or request to update your permissions.
Open the Workflows app.
On the left panel of the Studio dashboard, select the workflows tab.
In the Workflows dashboard, select “Manage Workflows” at the top right corner.
Click Create a new Workflow at the top right corner of the Workflows page.

5. In the “Workflow Details” sidebar, add a workflow name, description and Content Type.
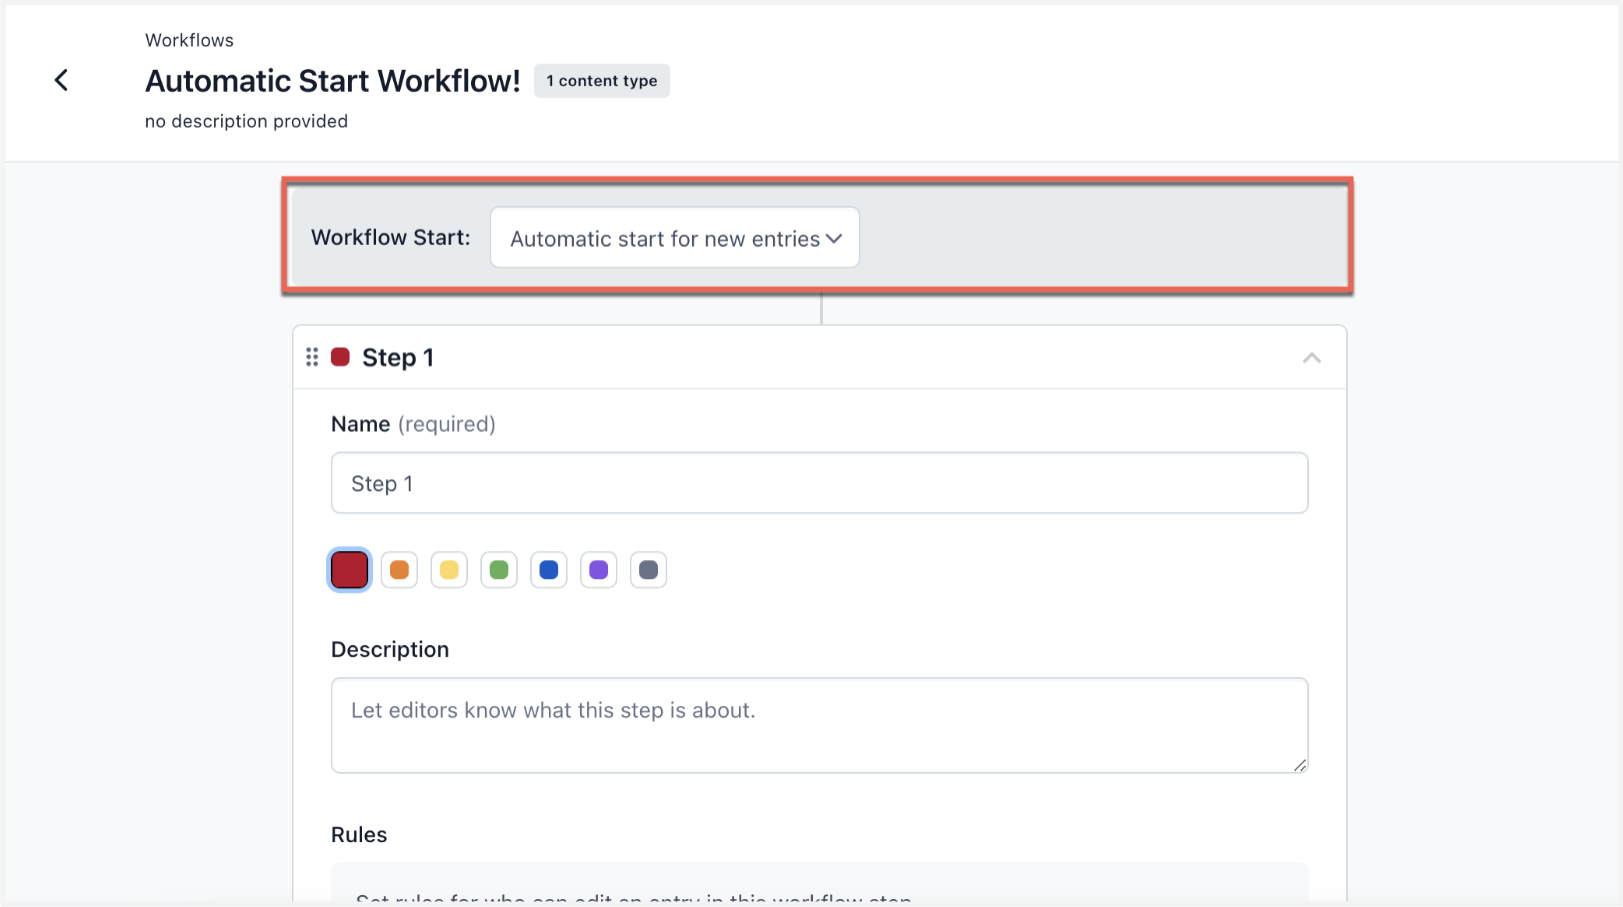
6. Select the option on how to start your workflow: manual or automatic.
NOTE: With the “Automatic start” option, workflows will automatically be set to the first step once the entry is created. For the “Manual start” option, click Start workflow in the sidebar to initiate the workflow and move the entry to the first step.

NOTE: Automatic start will be applied to any new entries or pages created after the workflow is configured to the sidebar.
7. Click Add step, fill in the workflow step name, choose a color to indicate a visual separation between steps, and add description details.
8. To configure who can move the steps, click Define who can Change step.

9. To configure who can edit an entry or page in this step, click Add a rule.

10. Click Add an action to notify colleagues or yourself through Slack or email, create a task when this step gets selected.

11. Click Save at the top right corner.
NOTE: Only users with a space admin role have permission to create workflows and define the steps.