- Help center home
- Getting started
- Content model
- Managing content
- Working with entries
- Working with media
- Working with translations
- Managing users
- Roles
- Account settings
- Administration
- Content orchestration
- Compose
- Launch
- Workflows
- How to get help and support
- Guides
- Contentful certification
- Contentful glossary
- Manage cookie consent
- Apps
- Usage Limit
- Marketplace
Knowledge Base
On this page
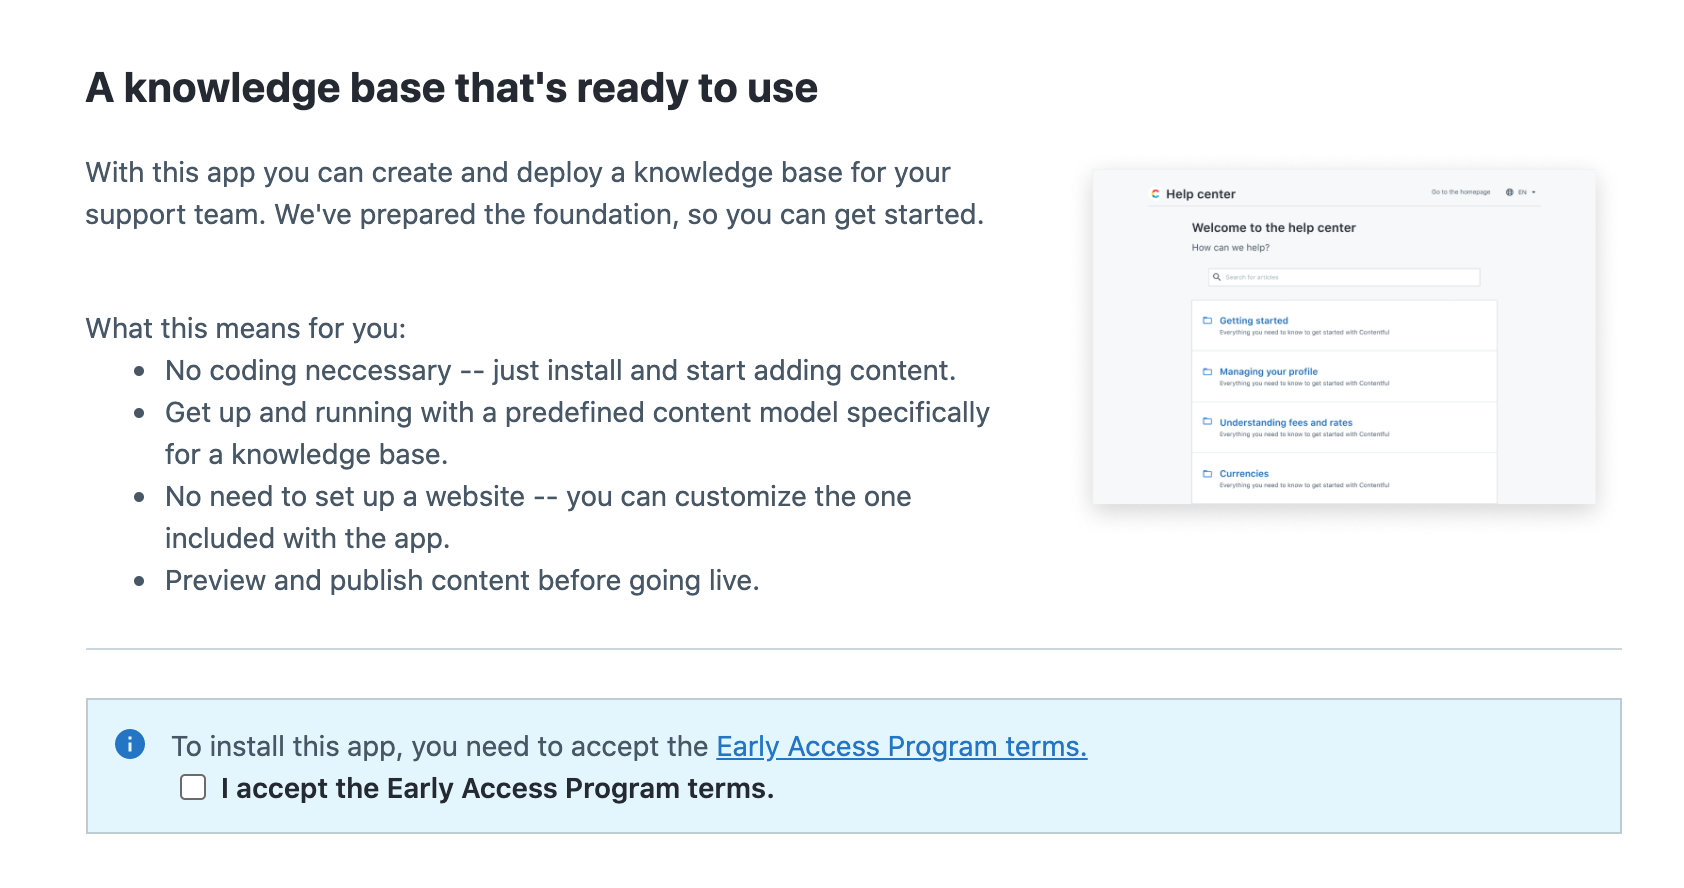
The Knowledge base app allows you to create a help center for your customers with the push of a button. Install the app in your Contentful space, write content, and get it all published and up and running in the span of 5 minutes.

Note: Installing this app will heavily configure the space in which it is installed. It will create new content types, new entries and new assets, all of which are necessary for getting started. If you do not want these changes, do not install this app.
Overview
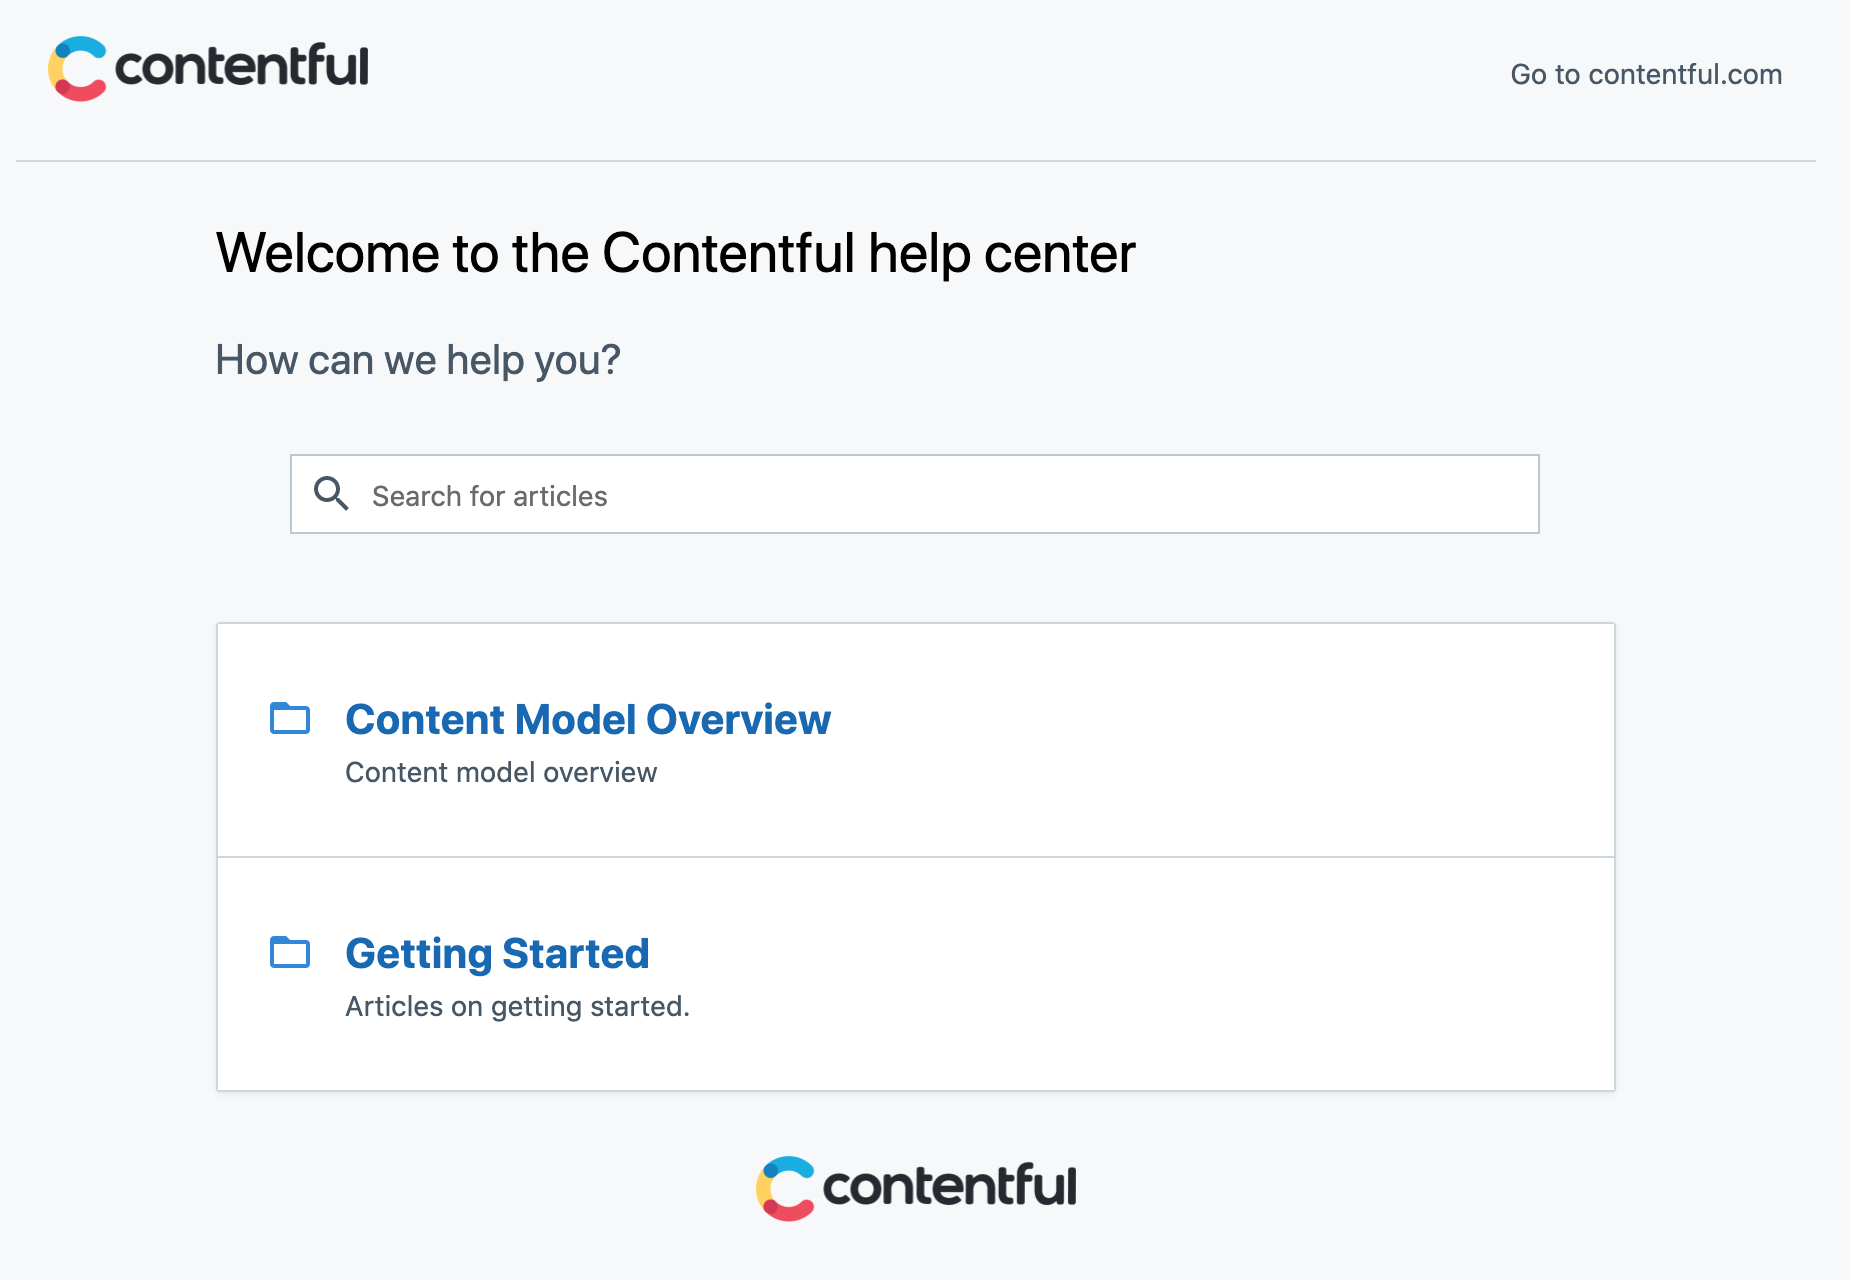
After installing, the app will create a content model, sample content in the form of guides, and a basic website that you can customize.
Requirements
To use this app, you will need:
A Netlify account, to preview and deploy.
A GitHub account, to clone the website.
Under the hood
Internally, the app will:
Create a webhook with Netlify for custom previews and deployments.
Create a content model and fill your space with sample content.
Deploy the Contentful knowledge base Gatsby website that you can customize.
Usage
Step 1: Install
Install the app from the Marketplace.

Step 2: Connect to Netlify and deploy
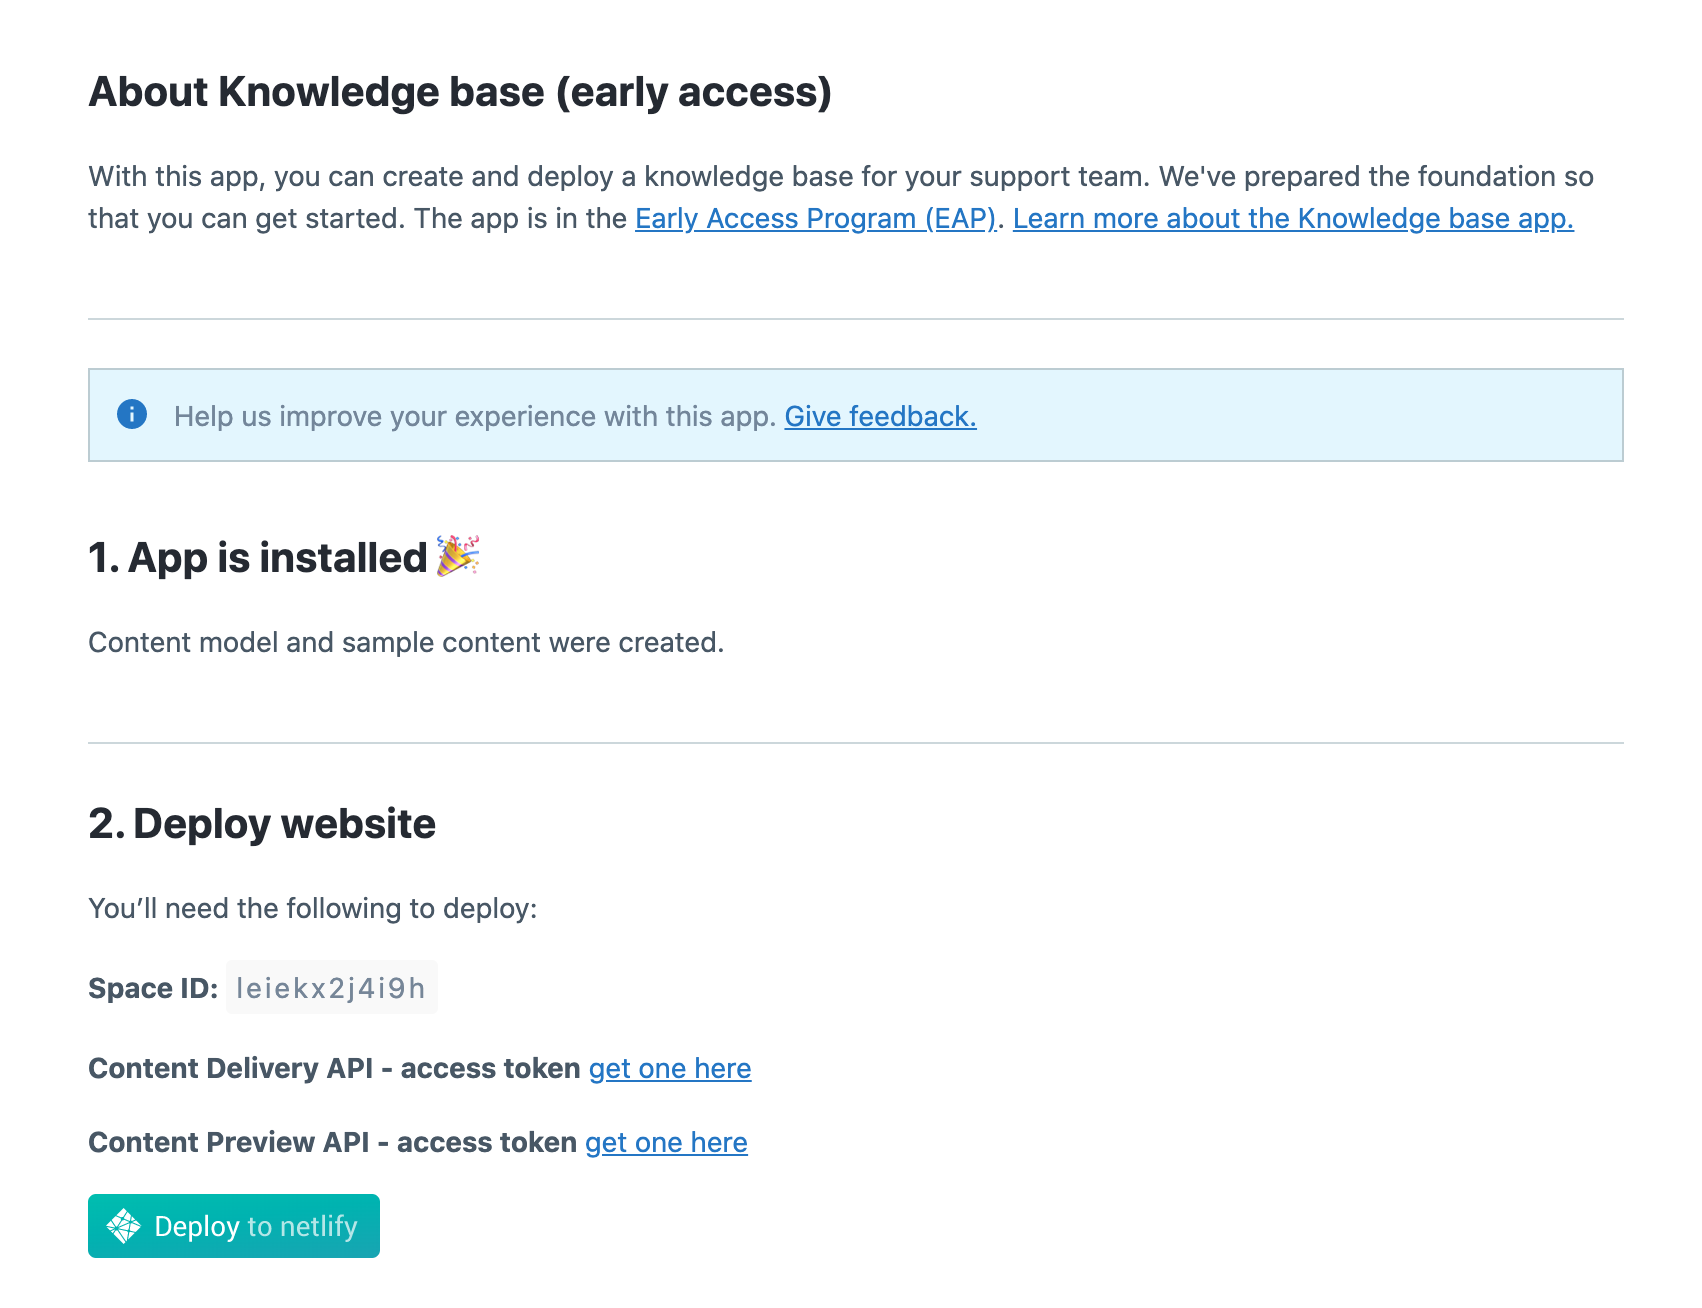
Under Deploy website, click the Deploy to Netlify button to connect your Netlify account to the app. A new window will open, asking you to log into Netlify. Next, follow the prompts to connect your GitHub account and deploy the website.

Step 3: Enable preview and manual deploys
After returning to the installation page, under Enable preview and manual deploys, select the Netlify website you created in the last step from the drop-down menu. Click the save button in the top-right, and you’re done!
Step 4: Add content
Now all that’s left for you to do is to start adding content. Navigate from the Knowledge Base app installation page back to your space. In the Content model tab, you will find a new content model. In the Content tab, there will also be some getting started articles, and sample space types set up. Details on further use of the app and the content model can be found in sample articles.
Troubleshooting
I can’t see the preview button after installing the app, and my site won’t build.
This happens if you have forgotten to add the required tokens to your Netlify site during the installation process. Perform another deploy of your website on Netlify. Make sure that the space ID, Content Delivery API key and Content Preview API key are added when prompted in the Netlify deploy form.
FAQ
What if I have existing content in my space?
The app will not have any effect on existing content. It will simply add new content types to your existing content model, and sample articles. These can be removed or edited as desired.
Can I deploy using a host other than Netlify?
At the moment, the app only supports Netlify sites.
Do I need to deploy my site every time I publish an article?
Yes. You can use the preview button to check how an article will look after publishing, but for live changes to be reflected, you must run the build.
What’s the difference between “Preview article” and “Build site”?
The preview button will show what an article looks like after publishing. This allows you to catch any errors or formatting problems before changes go live. The build site button will update the entire website, not just a single article, with all changes that have been published in the space.