
Learn what Contentful is and how to use it
Learn what Contentful is, and all it takes to build your first Contentful powered website in a few easy steps while learning how it works under the hood.

Introduction
The application you're about to make is a blog with a few sample posts. It will be built with Node.js to create a low maintenance website backed by our reliable CDN and APIs.
We'll also go through how to quickly deploy the site in the cloud using Zeit's serverless hosting.
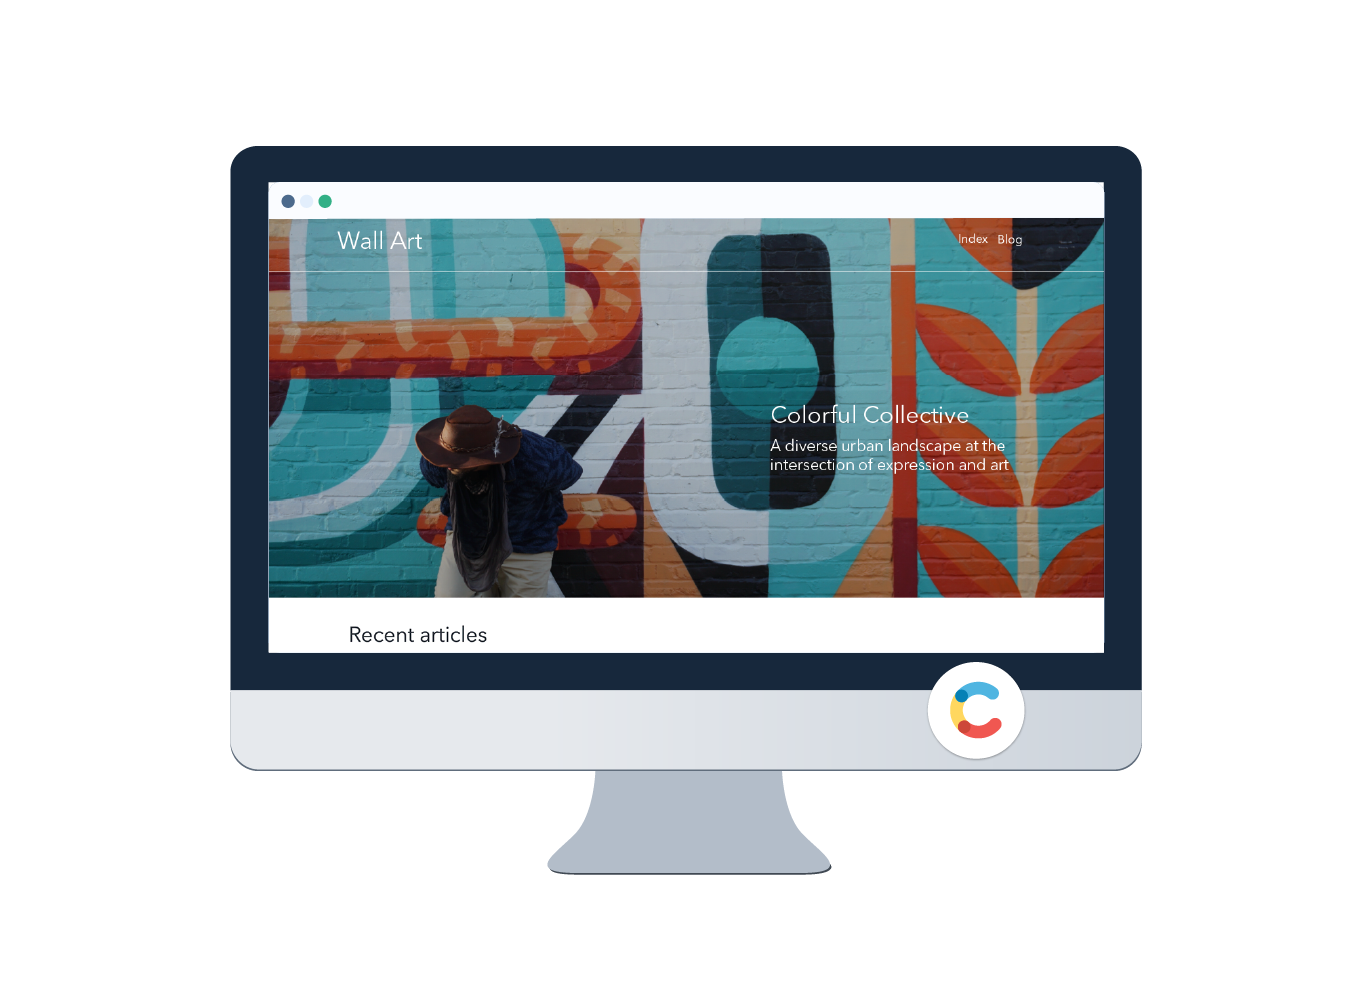
{: .img}

How to build your first website with Contentful
All it takes to build your first Contentful powered website are a few easy steps. In doing these steps you will not only create and deploy a website, you will also learn how our technology works under the hood.
What we'll be doing:
- Create your free Contentful account
- Clone a sample repo and install a few dependencies
- Create a new "data bucket", or space, to store content
- Generate a Content Management API access token
- Generate a Content Delivery API access token
- Import data into the space
- Customize the config file
- Time for a test run
- Cloud deployment with Now
Requirements
This guide assumes that you have Node.js installed, along with a Github account.
Create your free Contentful account
For this guide to work, you need to create your free account. Don’t worry — it only takes a minute to signup and we promise not to spam you.
Clone a sample repo and install a few dependencies
The second thing we need to do is to clone the sample repo from github:
git clone git@github.com:contentful/blog-in-5-minutesOnce you have the local clone in place, change into the blog-in-5-min directory and install the required dependencies:
npm installCreate a new "data bucket", or space, to store content
In the Contentful world, a space is a data bucket used to store the content that will later appear inside your apps. Like a database table, content is described and stored using a data model. A key feature is that you get to define the data model yourself to fit your needs.
To create a new space, press in the space overview button in the top left corner of the web app followed by Add new Space. Give the space a fitting name, and click the Create space button.
{: .img}

Generate a Content Management API access token
We’ll soon be importing a few sample blog posts from our cloned repo into the newly created space. But for that to work, you need to generate your personal Content Management API access token.
The Content Management API access token is used for write access to your space. It should therefore be treated as a secret.
To generate a personal Content Management API token, navigate to APIs in the top level menu, click Content Management Tokens and then Generate Personal Token.
{: .img}

Give the token a suitable name and click Generate
Copy the token value and store it somewhere safe - you’ll be needing it in a minute.
Generate a Content Delivery API access token
We deliver content to your apps via a number of APIs. To ensure that your apps are restricted to read-only access to your data, they connect using a Content Delivery API access token.
Create a new Content Delivery API access token by selecting APIs in the top level menu. Click Content Delivery / Preview tokens and then Add API key on the right hand side.
{: .img}

Make a note of both your Space ID, and your personal Content Delivery API access token.
{: .img}

Import data into the space
The next step is to import some sample data from your local repo into your space.
This is done by executing the
npm run import-datanpm run import-data -- --space-id YOUR_SPACE_ID --management-token YOUR_CONTENT_MANAGEMENT_ACCESS_TOKENCustomize the config file
The last step before we launch the web app is to create the
.contentful.jsonDo this by renaming the
.contentful.sample.json.contentful.jsonAfter renaming the file to .contentful.json, you will need to change three values:
CTF_SPACE_IDCTF_CDA_ACCESS_TOKENCTF_CMA_ACCESS_TOKENExplanation of the three variables that you need to change to run the app:
CTF_SPACE_IDCTF_CDA_ACCESS_TOKENCTF_CMA_ACCESS_TOKENThe config file should look like so:
text{
  "CTF_PERSON_ID": "15jwOBqpxqSAOy2eOO4S0m",
  "CTF_BLOG_POST_TYPE_ID": "blogPost",
  "CTF_SPACE_ID": "SPACE_ID",
  "CTF_CDA_ACCESS_TOKEN": "CDA_ACCESS_TOKEN",
  "CTF_CMA_ACCESS_TOKEN": "CMA_ACCESS_TOKEN"
}
Time for a test run
You can run the website locally by executing
npm run devThat’s it - you’re done. What remains is for you to browse to http://127.0.0.1:3000 and view your first site built with Contentful.
{: .img}
Cloud deployment with Now
An easy was to deploy your site in the cloud is to use Now.
Now is a fairly new service by Zeit, which also provides static hosting. If you run
npm run deployNow also offers the possibility to buy domains with a single command. This way of deploying Contentful powered code could not be easier.
Further deployment methods
What's next
It only took a few minutes to go from scratch to a simple but functional blog using Contentful. However, we’ve barely scratched the surface of what Contentful can do for you and your projects.
Summary and further reading
A good reason to try our platform out is to experience its speed and flexibility. No matter what stack you use, integration between your code and Contentful couldn’t be easier. We have SDKs for the most common languages like JavaScript, Python and PHP.
Worth pointing out is that Contentful is a cloud-based solution for content infrastructure. This means that we deliver content via our global CDN and restful APIs. Our content infrastructure is designed to auto-scale so that your content is always available regardless of load peeks and user growth.
Another reason to get on board is that we, unlike a CMS, will provide you with true separation between content and presentation. You style your apps your way - we deliver the content.
We also recommend that you get familiar with our JavaScript demo, head over to the Guides and tutorials section, and then read about our GraphQL integration.
We also suggest that you head over to the Developer center to learn more about how our technology works, and what it can do for you and your projects.